OUR VISION WE ALWAYS THINK SERIOUSLY ABOUT WHAT'S FUN & NEW 真面目にアタラシさとオモシロさにこだわり続けます。

BUSINESS
業務システムからスマートフォンアプリケーションまで、受託開発を行っています。企画段階の検証から開発の一部分まで、幅広く柔軟に対応することが出来ます。規模の大小を問わず、お客様の立場に立った「ベスト」な提案をいたします。
READ MORE

小売・金融を中心とした業種で、大規模プロジェクトの中核責任者や、先端技術のプロフェッショナル、テスターなど幅広い分野において、開発業務のお手伝いをいたします。
READ MORE

現行の業務及びシステムが表す数値・データより、お客様にとっての最適解をITテクノロジーを軸に戦略をご提案いたします。第三者の視点より、正確な現状の把握・あるべき姿・その実現までのプロセス、を整理し、お客様のビジネス成長を目指します。
READ MORE
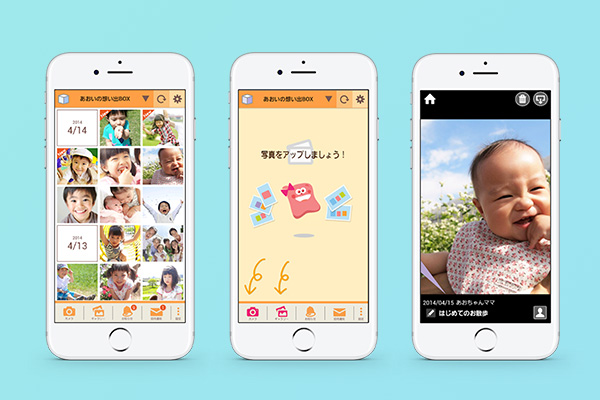
これまでの業務実績より蓄積した技術・ノウハウを活かし、サービスの開発を行っています。立案・企画整理・要件整理をはじめとし、開発・運用も全て自社内で行っています。
READ MORE
STRENGTH
01
クライアントと一体となって成果の実現までをサポートするためにシステム導入後も運用、改善提案をおこない事業に効果を発揮することを目指します。
READ MORE
02
チーム一体となり、それぞれの専門性を活かしたご提案をおこなうことでクライアントから厚い信頼をえています。
READ MORE
03
当社ではシステム開発にありがちな企画がはじまってから納品までの時間を無駄に長くせずお客様の手元にシステムを早く届けたいと考えています。
READ MORE
04
ワンストップで業務をおこなうことによりクライアントの手間を軽減し、結果としてコスト削減にもつながり高品質のサービスを提供することが可能です。
READ MORE
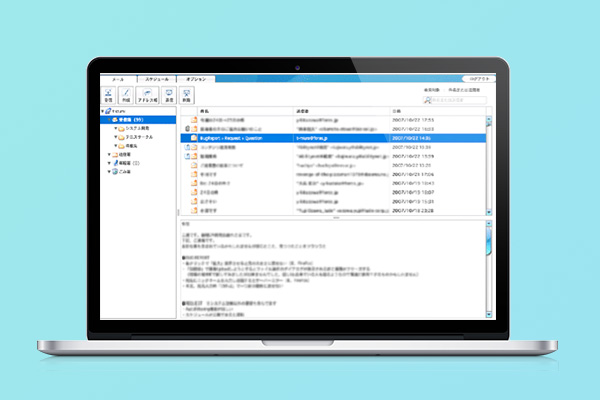
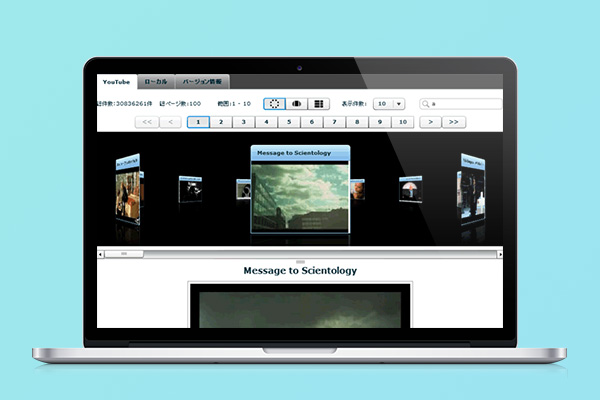
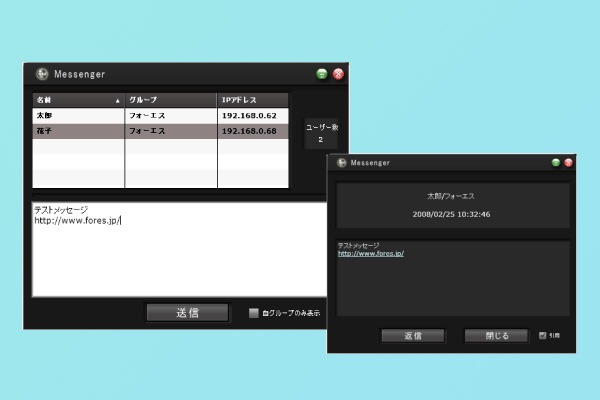
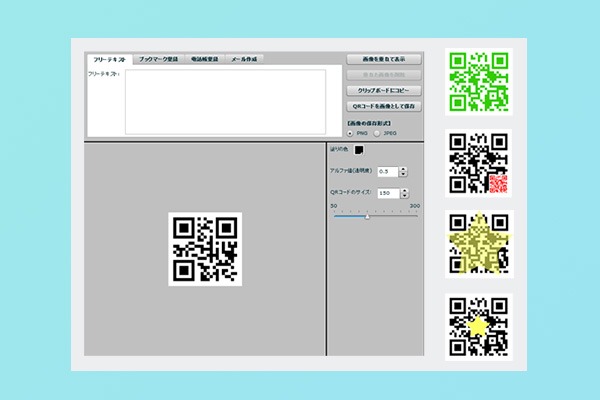
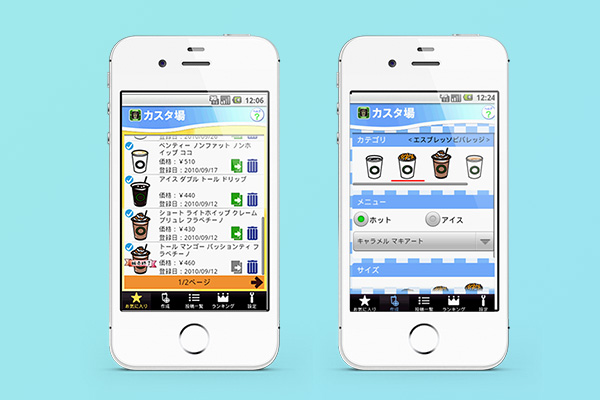
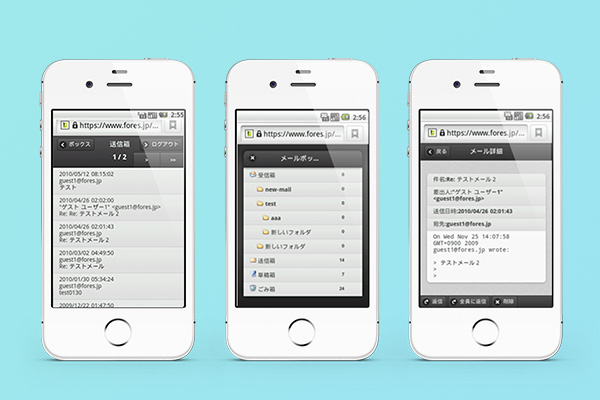
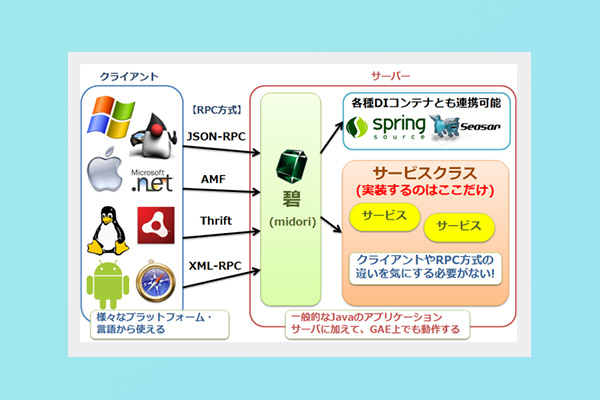
OUR PRODUCT
NEWS
2023/05
創立25周年を迎えました。
創立25周年を迎えました。
2023/03
プライバシーマークを更新いたしました。
プライバシーマークを更新いたしました。